photography

Home | Photos on Flickr | Photos on Zoom | My Dutch Photopage

Postprocessing

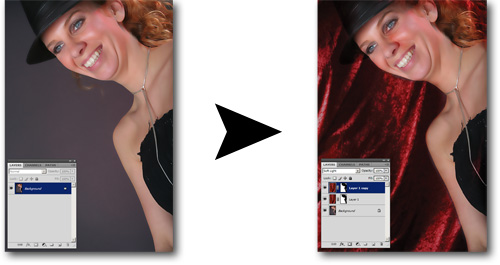
The postprocessing effects below were done with Adobe Photoshop (7.0; they also work with CS upto CS5). The ideas can be applied to other paint programs though, such as Gimp or Paintshop Pro. Click on the photos to be taken to the tutorial page that explains the effect.

Interesting post-processing types

Here are some creative processes to touch up photographs. They are explained only shortly.

  • Golden skin - make the skin shinier. See the video at http://www.youtube.com/watch?v=nJ59pguiFq0
    In short:
    - Make 2 copies of the image; you now have 3 layers: Background, Copy1, Copy2.
    - For the first copy, using Filter | Filter Gallery and select the 'Distort' group and 'Diffuse Glow'. Use 0 graininess, select a nice 'Glow Amount' and 'Clear Amount' so the image stays visible nicely.
    - For the second copy, using the samen Filter Gallery but select 'Artistic', then 'Plastic Wrap' and use a high 'Smoothness' (~15) and a medium 'Detail' (~7).
    - Set the Layer blending mode to Overlay. Reduce the opacity a bit.
    - Add a (non-clipping) Adjustment Layer of 'Gradient Map' and select a nice reddish gradient. Set the adjustment layer's blend mode to 'Screen' and reduce the opacity a bit.

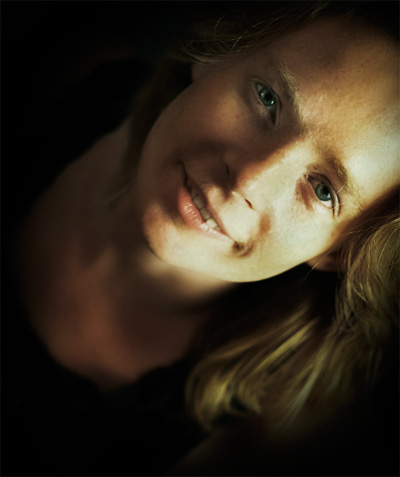
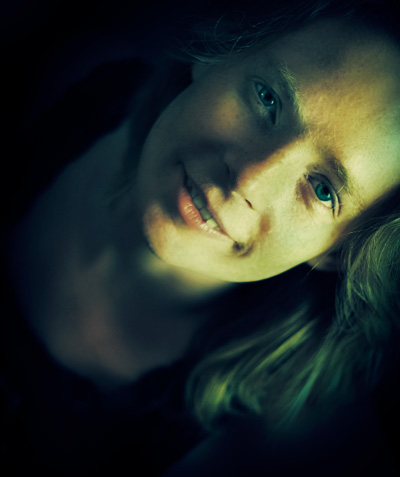
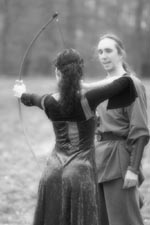
Touching up portrait photographs

I shoot models now and then in my home studio (for examples, see my Dutch portrait page on Kodakmomentje.com). Since often no make-up artist is present, models make themselves up. Photoshop helps the finish touch. Here is a list of typical procedures I follow to touch up a photograph. I don't always use all procedures; it helps save time if you can skip some, and one photograph needs a bit more than the other. The list is sort of ordered from first to last procedure.

A quicker way these days can be to use ProRetouch by Totally Rad! Software. The Actions in that package (it's not free btw) are very useful when quickly doing portrait touch-ups. You can always elect to do things manually, to avoid the cost of any 3rd party plugins, but I can recommend it.

I'll try and make tutorials for each step.

  • Skin touchup - removing pimples, softening skin (keeping details using a highpass filter)
  • Overlay diffusion - for some photographs all it takes is a little diffusion to make a great shot

    overlay diffusion photoshop
  • Compositing on gray - photographs on more or less 50% gray can be composited quickly using this method

    composite gray
  • Crossprocessing photographs (done with Photoshop CS5)

    crossprocessing photoshop cs5 crossprocessing photoshop cs5
  • Compositing on white - photographs with a white background can also be compositied relatively quickly
  • Color shifting - using hue/saturation and curves to get a more abstract color effect.
  • Vignetting - adding a bit of shadow to focus the attention of the viewer better.

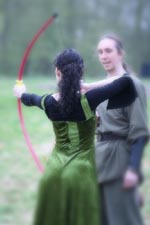
Older post-processing tutorials

These are some tutorials I made back in 2006.

Before postprocessing After postprocessing Description
Fall-off soft focus.
     
Black & white soft focus.


External post-processing tutorials

I have found these internet locations during searches for nice post-processing effects. Hopefully you will find the quality as good as you expect:

Example Description
Creating water effects. (notice the original didn't have any water)


(c) 2006-2011 Dolphinity B.V. / Ruud van Gaal